
-
 Afrikaans
 -
 Albanian
 -
 Amharic
 -
 Arabic
 -
 Armenian
 -
 Azerbaijani
 -
 Basque
 -
 Belarusian
 -
 Bengali
 -
 Bosnian
 -
 Bulgarian
 -
 Catalan
 -
 Cebuano
 -
 Corsican
 -
 Croatian
 -
 Czech
Czech -
 Danish
 -
 Dutch
Dutch -
 English
 -
 Esperanto
 -
 Estonian
 -
 Finnish
 -
 French
 -
 Frisian
 -
 Galician
 -
 Georgian
 -
 German
 -
 Greek
Greek -
 Gujarati
 -
 Haitian Creole
 -
 hausa
hausa -
 hawaiian
 -
 Hebrew
 -
 Hindi
Hindi -
 Miao
Miao -
 Hungarian
 -
 Icelandic
 -
 igbo
igbo -
 Indonesian
 -
 irish
irish -
 Italian
 -
 Japanese
 -
 Javanese
 -
 Kannada
 -
 kazakh
 -
 Khmer
Khmer -
 Rwandese
 -
 Korean
 -
 Kurdish
 -
 Kyrgyz
 -
 Lao
Lao -
 Latin
Latin -
 Latvian
 -
 Lithuanian
 -
 Luxembourgish
 -
 Macedonian
 -
 Malgashi
 -
 Malay
Malay -
 Malayalam
 -
 Maltese
 -
 Maori
Maori -
 Marathi
 -
 Mongolian
 -
 Myanmar
 -
 Nepali
 -
 Norwegian
 -
 Norwegian
 -
 Occitan
 -
 Pashto
 -
 Persian
 -
 Polish
 -
 Portuguese
 -
 Punjabi
 -
 Romanian
 -
 Russian
 -
 Samoan
 -
 Scottish Gaelic
 -
 Serbian
 -
 Sesotho
 -
 Shona
Shona -
 Sindhi
 -
 Sinhala
 -
 Slovak
 -
 Slovenian
 -
 Somali
 -
 Spanish
 -
 Sundanese
 -
 Swahili
 -
 Swedish
 -
 Tagalog
 -
 Tajik
Tajik -
 Tamil
Tamil -
 Tatar
Tatar -
 Telugu
 -
 Thai
Thai -
 Turkish
 -
 Turkmen
 -
 Ukrainian
 -
 Urdu
Urdu -
 Uighur
 -
 Uzbek
Uzbek -
 Vietnamese
 -
 Welsh
Welsh -
 Bantu
Bantu -
 Yiddish
 -
 Yoruba
 -
 Zulu
Zulu


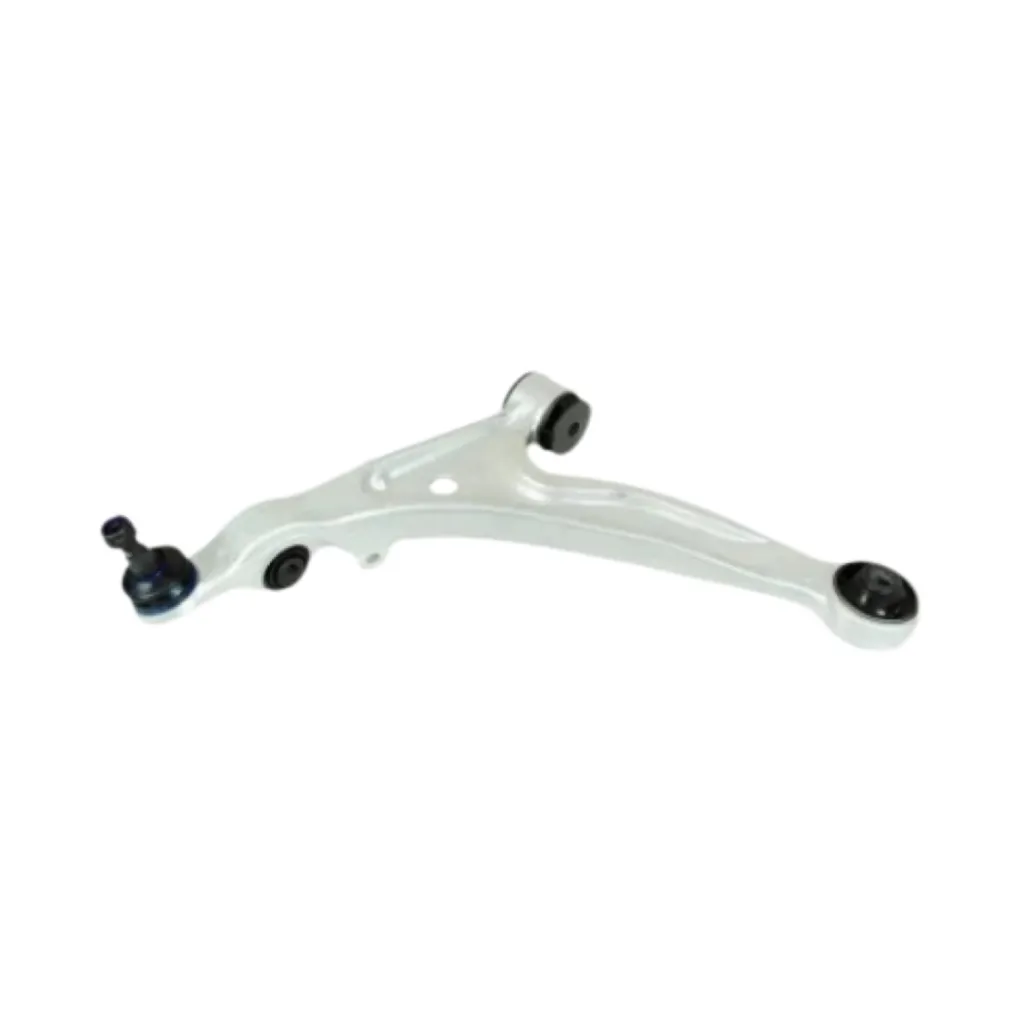
How to Replace Your Vehicle's Control Arm Effectively and Safely
Replacing Control Arm A Comprehensive Guide
The control arm is a crucial component of a vehicle’s suspension system. It connects the chassis to the wheels, allowing for smooth handling and stability while driving. Over time, control arms can wear out, leading to issues such as uneven tire wear, poor alignment, and a compromised driving experience. Therefore, replacing a control arm is essential for maintaining vehicle performance and safety.
Before diving into the replacement process, it is important to recognize the signs of a failing control arm. Common indications include clunking noises when driving over bumps, noticeable changes in steering responsiveness, and excessive vibration. If any of these symptoms arise, it is advisable to inspect the control arms and replace them if necessary.
Replacing a control arm can be a challenging task, but with the right tools and a bit of mechanical knowledge, it can be accomplished at home. Here’s a step-by-step guide to help you through the process
1. Gather Tools and Parts You will need a jack, jack stands, a socket set, a wrench, and a replacement control arm. Ensure that you have all necessary tools before starting the project.
2. Secure the Vehicle Start by lifting the vehicle with the jack and securing it with jack stands. This step is crucial for your safety, as working under an unstable vehicle can lead to serious injuries.
replacing control arm
3. Remove the Wheel Take off the wheel to access the control arm. This will provide you with the necessary space to work comfortably.
4. Disconnect the Control Arm Use the socket set to remove the bolts connecting the control arm to both the chassis and the steering knuckle. Take note of the orientation and arrangement of the components for easier reassembly.
5. Install the New Control Arm Position the new control arm in place and secure it with the bolts. Make sure everything is tightened to the manufacturer’s specifications to ensure safety and performance.
6. Reassemble the Wheel After installing the control arm, reattach the wheel and lower the vehicle back to the ground.
7. Test Drive Finally, take the vehicle for a test drive. Monitor for any unusual noises or handling issues, which may indicate a need for further adjustment.
In conclusion, replacing a control arm is an important maintenance task that can greatly impact the performance and safety of your vehicle. By recognizing the signs of wear and following a comprehensive step-by-step guide, you can successfully replace the control arm and enjoy a smoother, safer driving experience. Always consider seeking professional help if you are uncertain about any steps in the process.
-

 English
 Afrikaans
 Albanian
 Amharic
 Arabic
 Armenian
 Azerbaijani
 Basque
 Belarusian
 Bengali
 Bosnian
 Bulgarian
 Catalan
 Cebuano
 Corsican
 Croatian
 Czech
Czech
 Danish
 Dutch
Dutch
 Esperanto
 Estonian
 Finnish
 French
 Frisian
 Galician
 Georgian
 German
 Greek
Greek
 Gujarati
 Haitian Creole
 Hausa
Hausa
 Hawaiian
 Hebrew
 Hindi
Hindi
 Miao
Miao
 Hungarian
 Icelandic
 Igbo
Igbo
 Indonesian
 Irish
Irish
 Italian
 Japanese
 Javanese
 Kannada
 Kazakh
 Rwandese
 Korean
 Kurdish
 Kyrgyz
 Lao
Lao
 Latin
Latin
 Latvian
 Lithuanian
 Luxembourgish
 Macedonian
 Malgashi
 Malay
Malay
 Malayalam
 Maltese
 Maori
Maori
 Marathi
 Mongolian
 Myanmar
 Nepali
 Norwegian
 Norwegian
 Occitan
 Pashto
 Persian
 Polish
 Portuguese
 Punjabi
 Romanian
 Russian
 Samoan
 Scottish Gaelic
 Serbian
 Sesotho
 Shona
Shona
 Sindhi
 Sinhala
 Slovak
 Slovenian
 Somali
 Spanish
 Sundanese
 Swahili
 Swedish
 Tagalog
 Tajik
Tajik
 Tamil
Tamil
 Tatar
Tatar
 Telugu
 Thai
Thai
 Turkish
 Turkmen
 Ukrainian
 Urdu
Urdu
 Uighur
 Uzbek
Uzbek
 Vietnamese
 Welsh
Welsh
 Bantu
Bantu
 Yiddish
 Yoruba
 Zulu
Zulu
 Khmer
Khmer


